
Foam pads inside your iRESTORE helmet do more than add comfort. They help the helmet sit correctly on your head, which keeps the light positioned consistently during each session.
The good news: replacing the foam pads is quick and doesn’t need any tools. You’ll remove the old pads by peeling them off, then press the new pads into the same spots.
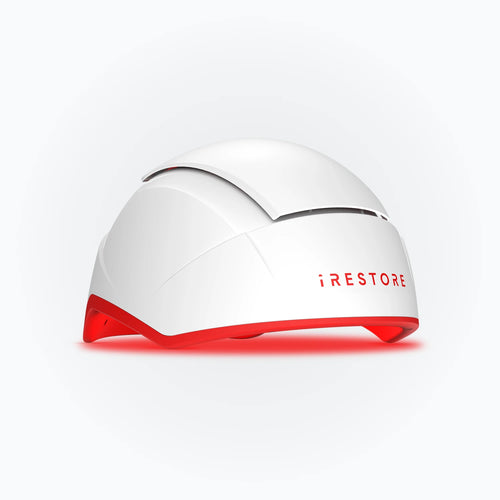
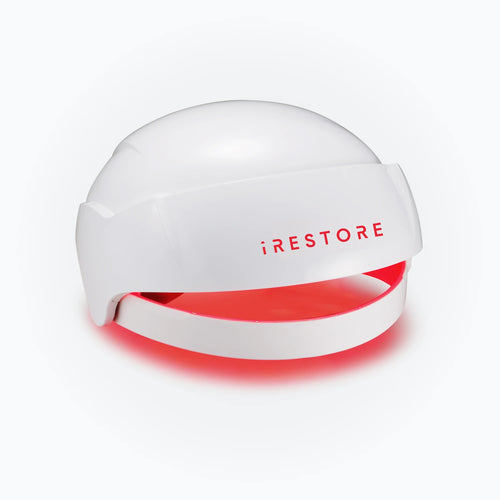
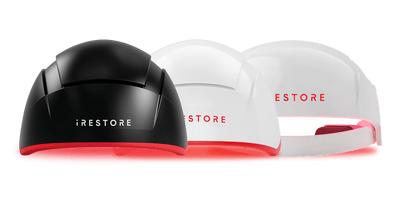
This article covers both iRESTORE Essential and iRESTORE Pro/Elite. The steps are almost identical for both models.
What the Foam Pads Do
The foam pads are there to make your sessions more comfortable but they also play a practical role in how the helmet sits and performs.
Here’s what they help with:
-
Comfort and cushioning: Pads reduce pressure points so the helmet feels easier to wear for the full session.
-
Stable fit: They help the helmet sit in a consistent position on your head, session after session.
-
Correct spacing: Pads maintain proper spacing between your scalp and the inside of the helmet, which supports consistent light placement.
-
Hygiene: Pads can absorb sweat and oils over time, which is why they may eventually need replacing.
If the pads are worn out, flattened, or no longer sticking well, the helmet may feel less comfortable and may not sit as evenly as it should. If you’re also noticing more scalp visibility lately, this guide explains when seeing your scalp is normal vs a warning sign.
When You Should Replace the Foam Pads
Replace your iRESTORE foam pads if you notice any of the following:
-
They look worn or torn (cracks, peeling edges, thinning foam)
-
They feel flat or compressed, and the helmet doesn’t feel as cushioned as before
-
They’re slipping or not sticking well inside the helmet
-
They’re visibly dirty from sweat/oil buildup and don’t clean up easily
-
The fit feels uneven or uncomfortable during sessions
If you use your helmet regularly, foam pads will naturally wear over time. Swapping them out helps keep the fit consistent and the experience comfortable.
What You’ll Need
You don’t need any tools to replace iRESTORE foam pads. Just make sure you have the right replacement set for your helmet model.
Required
-
Replacement foam pads (matched to your iRESTORE model)
-
A clean, dry cloth (to wipe the pad area before installing new ones)
-
A small amount of rubbing alcohol (only if there’s leftover residue)
Important: If you use a cloth or alcohol, keep moisture away from the LED/electronic areas. Always let the inside surface dry fully before installing the new pads.
Step-by-Step: How to Replace iRESTORE Foam Pads
Replacing the foam pads is one of those small maintenance things that makes a big difference. If your helmet has started feeling a little less comfortable, or the pads look worn out, this takes just a few minutes and you don’t need any tools.
The basic idea is simple: remove the old pads, prep the surface, and press the new pads into the same spots.
1) Set yourself up first
Find a clean, flat surface (a desk or table works). Place the helmet down with the inside facing up so you can see the pads clearly. If your device is plugged in, unplug it, not because this is risky, but because it keeps things hassle free while you work.
Clean, dry hands help here too. The less dust and oil you introduce, the better the new pads will sit.
2) Peel off the old foam pads
Start with one pad. Use your fingers to lift one corner, then slowly peel it back.
No need to rush. A steady peel usually removes the pad cleanly, without leaving much behind. Repeat the same for the other pads you’re replacing.
If a pad feels stubborn, don’t yank it, just lift another edge and continue slowly.
3) Quick clean
Before you put the new pads on, take a second to check the surface underneath.
-
If you see lint or dust, a dry cloth wipe is enough.
-
If there’s any sticky residue, use a cloth with a tiny amount of rubbing alcohol and gently wipe the area.
The important part: let everything dry fully before installing the new pads. You want a clean, dry surface so the pads hold properly.
4) Install the new pads
Now grab the replacement pad and line it up with the original placement. Once it looks right, press it down firmly.
Don’t just press the middle and move on, run your fingers across the pad, especially the edges, so it sits flat and secure.
Repeat this for all pads, then give them one last press to make sure everything is locked in.
Final Checks Before You Use the Helmet
Before you start your next session, take 30 seconds to make sure everything feels right. Consistency is what compounds over time, and this breakdown of red light therapy hair growth before and after shows what that progress can look like. A good install isn’t just “pads are on”, it’s pads are flat, even, and placed the way the helmet was designed to sit.
Here’s what to look for:
1) The pads should sit flat (no lifted corners).
Run your fingers along the edges. If a corner is slightly raised, press it down again. Pads that lift early usually come loose faster.
2) Placement should feel balanced on both sides.
Even if the pads look fine visually, the real test is how the helmet sits. If one side feels tighter, or there’s a new pressure point, one pad may be slightly misaligned.
3) Nothing should block the light area.
Pads should sit in their intended spots and shouldn’t overlap into the LED/light path area inside the helmet.
4) Do a quick comfort test.
Put the helmet on for a moment (no need to start a session). It should feel even, stable, and comfortable, not “pinchy,” tilted, or oddly tight in one spot.
If anything feels off, remove and reposition the pad right away. It’s much easier to fix it now than to sit through a full session feeling uncomfortable.
Common Issues (and Easy Fixes)
Most people finish replacing the pads and never think about it again, which is exactly how it should be. But if something feels slightly off right after you install the new pads, don’t worry. It’s usually one small thing: the surface wasn’t fully clean, a corner didn’t seat properly, or one pad ended up a bit misaligned.
If the pad doesn’t stick the way it should
This is almost always a surface issue. Even a thin layer of lint, sweat, or leftover adhesive residue can stop the new pad from gripping properly.
The fix is simple: peel the pad back, wipe the area clean (dry cloth is usually enough), and make sure it’s fully dry before pressing the pad down again. When you reattach it, press firmly across the whole pad, not just the middle, so the edges lock in.
If the corners start lifting
Corners lifting usually means the pad didn’t get pressed down evenly, or the edge landed on a spot that still had dust or residue.
Try pressing the corner down for a few seconds and smoothing outward with your fingers. Once all pads are installed, it helps to do one final pass and press along the edges again, think of it like sealing the pad into place.
If there’s sticky residue left behind
Older pads that have been in place for months can leave behind a little residue. It’s normal but you don’t want to place the new pad on top of it.
A small amount of rubbing alcohol on a cloth can help lift residue without much effort. Just keep it minimal and let the surface dry completely before installing the new pad. (Avoid getting moisture near any light/electronic areas.)
If the helmet suddenly feels less comfortable
If the helmet feels “pinchy,” tight in one spot, or just different than before, that’s usually a sign one pad is slightly off.
Even a small placement shift can create a pressure point. The best move is to remove that pad, line it up again to match the original position, and press it down flat. After that, do a quick comfort check by wearing the helmet for a moment before starting a session.
If the helmet feels uneven or slightly tilted
This typically happens when one side pad sits a little higher or is positioned slightly differently than the other side. You don’t need to overthink it, just compare the left and right placement and make them symmetrical again.
Once it feels balanced, you’re good to go.
Maintenance Tips to Make Pads Last Longer
Foam pads don’t wear out overnight, they wear out from the small, repeatable things: sweat, oils, friction, and being stored before they’ve fully dried. A little basic care goes a long way, especially if you’re using your iRESTORE consistently.
Wipe them down after sessions
After you’re done, a light wipe with a clean, dry cloth helps remove sweat and oil before it settles in. You don’t need to scrub, just a quick cleanup that keeps the pads from getting grimy over time.
If you do use a slightly damp cloth, keep it minimal and let the interior dry fully before storing.
Let the helmet air out before putting it away
This is one of the easiest ways to extend pad life. If you finish a session and immediately pack the helmet into a case (especially in a humid room), the pads stay damp longer, which speeds up wear and can make them smell over time.
A few minutes of air-drying helps.
Avoid harsh cleaners
Strong cleaning products can break down foam faster and may affect how well the pads hold up. If something needs cleaning beyond a dry wipe, use a gentle approach and keep moisture away from the LED/electronic areas.
Store it in a cool, dry place
Heat and humidity aren’t great for foam. Store the helmet somewhere clean and dry, away from direct sunlight, and avoid leaving it in a hot car or near a window.
Don’t peel and re-stick pads repeatedly
Once pads are installed, try not to remove and reposition them unless you really need to. Repeated peeling can weaken the backing over time, which reduces how well the pad holds.
Where to Order Replacement Pads
To keep the fit consistent (and avoid pads that don’t sit right or wear out quickly), it’s best to use official iRESTORE replacement foam pads that match your exact helmet model.
When you order, make sure you’re choosing the correct set for:
-
iRESTORE Essential, or
-
iRESTORE Pro / Elite
If you’re not 100% sure which model you have, the easiest check is the one you already use day-to-day: match the replacement pads to the same model name shown on your order history, packaging, or product documentation.
One practical tip: if you use your helmet regularly, it’s worth keeping one spare set on hand. Foam pads wear gradually, so you usually only realize they need replacing once comfort drops, having a backup means you can swap them immediately instead of pausing sessions.
FAQs
Are the replacement steps different for Essential vs Pro/Elite?
Not really. The pad layout may look slightly different, but the process is the same: peel off the old pads, align the new ones, and press firmly until they sit flat and secure.
How often should I replace iRESTORE foam pads?
There isn’t one perfect schedule because it depends on how often you use the helmet and how much sweat/oil builds up. A good rule of thumb: replace them when they look worn, feel flattened, stop sticking well, or comfort noticeably changes.
Can I clean the pads instead of replacing them?
You can lightly wipe them down to keep them fresh, but once pads are compressed, peeling, or no longer sticking properly, cleaning won’t restore the fit, replacement is the better option.
I placed a pad slightly wrong. Can I reposition it?
Yes, as long as you do it right away. Peel it back gently, realign it, and press it down firmly again. Try not to repeatedly peel and re-stick the same pad over and over, because that can weaken how well it holds.
What if there’s adhesive residue left after removing the old pad?
A small amount of residue is normal if the old pads were on for a long time. Use a cloth with a tiny bit of rubbing alcohol to wipe the area, then let it dry fully before installing the new pads. Avoid getting moisture near the LED/electronic areas.
Disclaimer: The iRESTORE blog is for informational purposes only and is not intended to replace professional medical advice or treatment. Please do not ignore professional guidance because of information you’ve read here. If you have concerns about your hair or skin health, we encourage you to consult a qualified healthcare professional.